Bringing home chicks is a very exciting time. When you have research and a proper setup on your side, it will make raising chicks an enjoyable experience. Whether you’re going to use them for backyard pets, eggs, meat, or show birds, we’ve outlined some guidelines for you to follow to ensure a successful housewarming for your new chicks.
Bringing Chicks Home
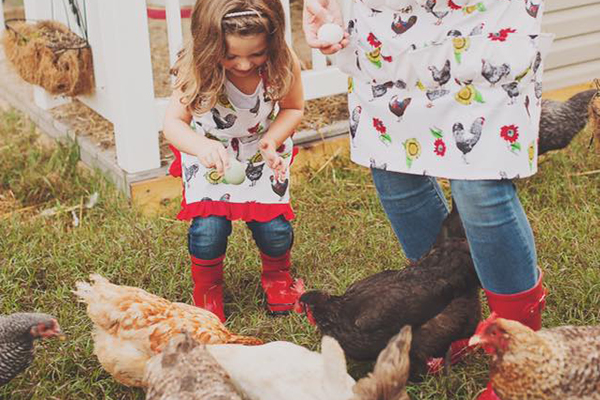
First things first, it is always necessary to check with your local town office to make sure backyard birds are permitted. Avoid the stress of re-homing such a delicate flock by making sure you are allowed to keep them. Once you have the go-ahead from your town, how do you decide how many chicks you’re going to bring home? If this is your first year with chicks, consider starting small. Keep in mind that chickens are social animals and need to have one to two other friendly chicks around. It’s much easier to make changes to a small flock than a larger one. In order to keep chicks body temperature up, having several in one brooder is always helpful. For established chicken owners, having multiple chicks will be necessary when introducing them into a flock of adult chickens. Again, since they are social creatures, having a chick sidekick or two will give them some security and will help to avoid being bullied by the adult chickens.
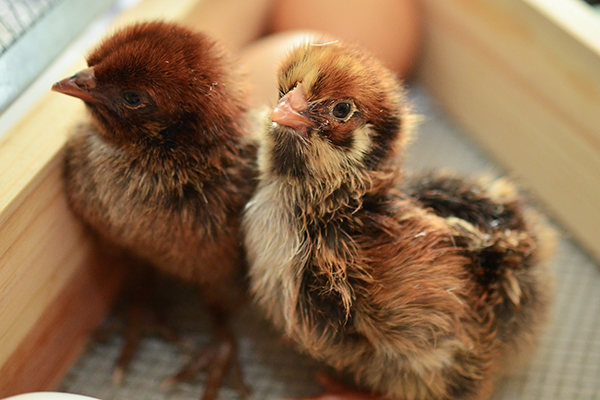
Once you’ve brought home your new chicks, you need somewhere for them to live. Chicks need to be inside for a minimum of three weeks. You don’t need a coop quite yet, but you will have to set up a brooder. A large box, stock tank (new or refurbished), or even a Rubbermaid tub will do just fine. It’s important to keep them contained and warm. A rule of thumb is to provide ½ square foot per chick to allow growth. If your chicks have too much room, that can lead to chilling. On the other hand, too much of a good thing can also lead to poor results. Overcrowding can cause picking and piling. Be sure to find a happy medium that will allow growth and keep your chicks content.
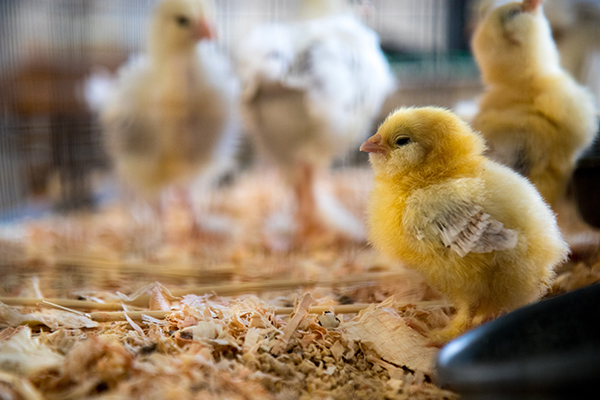
Once your chicks have their new home set up, you won’t want them standing on your nice carpet, or a concrete garage floor. Bedding can be made up of a few different things. Sawdust, shavings, or rice hulls work really well. In addition, shredded paper is cost efficient and easy to clean up, but make sure the surface is not slick or slippery. Placing your chicks on a non-porous surface could lead to hip displacement. The Cheshire Horse provides an abundance of bedding products to ensure a comfortable area provided for your new chicks.
Warmth
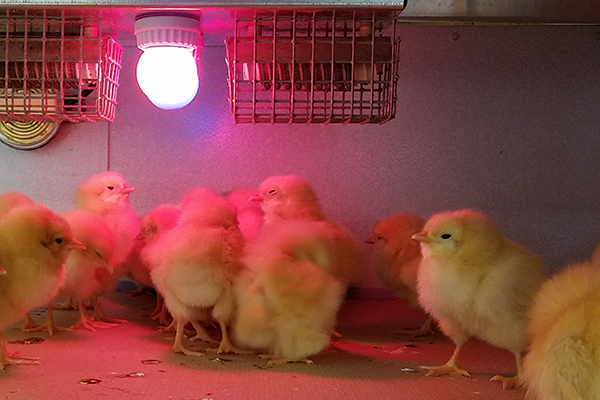
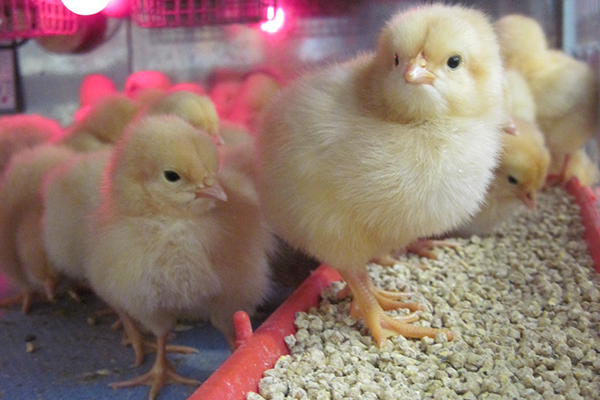
Keep those chicks warm! As another rule of thumb, per 50 chicks you will need one heat lamp. Heat Lamps are specific metal light fixtures that you add a heat radiating light bulb to. They can clip onto or hang above the brooder. When you place them in the brooder, remember that birds should be able to get away from the heat if needed. The first week you have them home, keep the heat at 95 degrees Fahrenheit. Decrease by 5 degrees each week until they can be turned outside (three weeks). By three weeks, if the outdoor temperature is still cooler than your brooder, consider keeping them inside with the lamp for a bit longer until the temperature is comparable.
Feeding and Hydrating
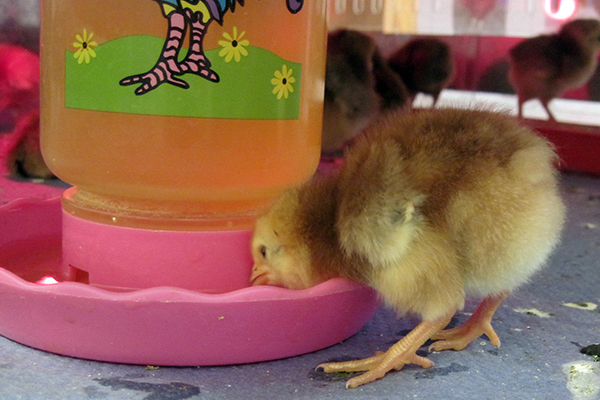
These chicks are going to be growing quickly, and will have the appetite to match. Baby poultry and waterfowl will need a high protein starter compared to full grown chickens. (If you are raising ducks or geese please note, they cannot eat medicated feed. Try feeding them a non-medicated chick feed or species specific starter feed). Going organic is always a great idea as well. New Country Organics Certified Organic, Soy-Free, Starter Feed is 21% protein and is ground finer for baby chickens. Whichever feed you choose, be sure to read the feeding instructions. This will include important information, including how long to keep the chick on that specific feed. An example would be that some brands recommend switching to their grower feed after three weeks of age, while a different brand could recommend your birds stay on the feed until they start to lay eggs. Young chicks will not need any adult food such as corn or scratch. This diet for young birds will cause undernourishment, and will eventually lead to death. To start feeding your chicks, feed can be spread onto a piece of cardboard and later moved to a more conventional feeder to avoid any unnecessary waste. Chicks will need water, for 50 or less chicks, a one gallon waterer is enough to keep them happy and hydrated. To ensure optimum growth, add a vitamin/electrolyte supplement to their water as well.
After 4 Weeks
Once it is warm enough outside, and your chicks have made it through their first 4 weeks, they’re ready to take on the outdoors! This is when a coop will be necessary. Incorporate a roost to your brooder. Introducing a roost earlier allows chicks to sleep warmer and more comfortably. Line the outside of the coop with a fence of some sort to contain the birds. If the weather is damp or cool, make sure you are keeping your chicks inside the coop for the day. Birds cannot stay out for an entire day until they are fully grown (around three and a half months). At four months, you can check the recommendations of your current feed and possibly switch to a layer feed. Roosters and hens mature at four to six months. Hens begin to lay eggs around this time so make sure you pick up an egg apron!
Signs of Illness
Always make sure you are keeping a watchful eye on your growing chicks. A lot can happen in a small amount of time if the balance of housing, feeding, or cleanliness is off. Here are a few issues and their symptoms to watch out for.
Picking
Appropriate space for your chicks is important to avoid picking. Avoid overcrowding. If they are picking, take care of it immediately. This can be treated with a special no pick ointment or even petroleum jelly. Keep injured birds separate until healed and healthy if necessary.
Coccidiosis
Coccidiosis is a contagious disease contracted by an unclean environment. It is very important to keep a close eye on your chicks living conditions. If contracted, you will notice your chicks dying around three to six weeks of age. The major symptom to look out for is bloody droppings. Adding a coccidiostat drug or antibiotic from the veterinarian to their water is a good cure for coccidiosis.
Bacterial/Viral Infections
Keep an eye out for mucus of any kind, as this could be bacterial or a viral infection. These can easily be treated with a basic antibiotic or natural remedies like Vet RX. Respiratory infections may also be cured with this method. Poultry antibiotics are unavailable over the counter in most states without Veterinary Feed Directive or prescription. However, there are many over the counter alternatives like Durvet Durastat.
Malnutrition
If you’re noticing changes in your chicks neck movement or your chicks legs starting to become crippled, it could be malnutrition. Other symptoms could be generalized as exhausted looking birds, or picking. Make sure to keep them on an 18-22% protein starter and make sure they are getting all the vitamins they need to thrive. If you suspect malnutrition, try Durvet Poultry Vitamins and Electrolytes or Bovidr Nutri-Drench Poultry.
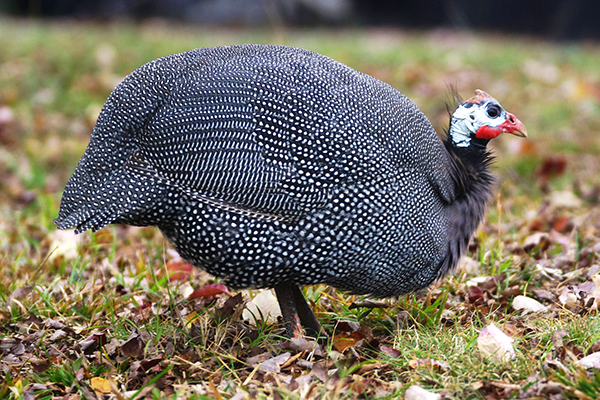
Additional Notes for Raising Guinea Keets
Keets are more complicated to raise compared to baby chicks and poults. They require some specific methods in how they are raised in the early weeks. Unlike baby chickens and turkeys, avoid keeping keets overcrowded within the first two weeks. Keets can easily be trampled due to their delicate and small nature. At three weeks they can be moved to a larger spot, and you can give them at least one square foot per bird. At one month, keets develop their first feathers. While you may bring home an abundant amount of baby chicks, with keets you will need to focus on no more than two dozen at a time. They are quick to escape and equipped to do so! Make sure your home for them is on tight lockdown. A stout cardboard box lined with paper towels at first, and dried wood shavings later on is an ideal home for them in the beginning weeks. While adjusting the temperature on your heat lamp, pay close attention to how your keets are responding. They aren’t afraid to let you know if they’re uncomfortable. They will make a persistent, shrill noise that will let you know something’s not right. When they are content, their call will sound more musical.
As for feeding your keets, use a commercial turkey starter, or game bird starter. Feed a minimum of 21 to 23 percent protein ration. At four weeks, you can start introducing a mixture of cracked corn or a whole wheat supplement with grass clippings, chopped lettuce, or other fresh greens. As always, provide fresh water as well!
In Conclusion
There’s a lot that goes into bringing chicks home for the first time, but if you put a good amount of effort into a healthy environment for these chicks, they are going to be happy and thrive. As long as you are committed to your chicks, and keep a watchful eye you will raise a healthy flock of birds!